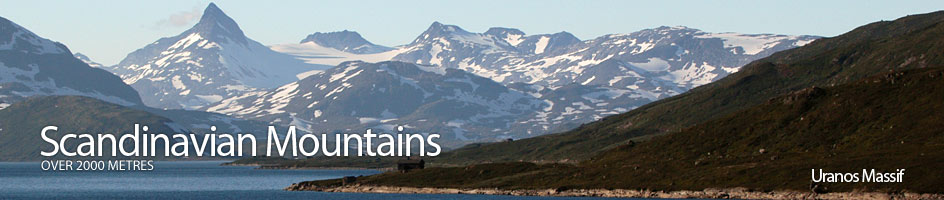
Scandinavian Mountains over 2000 metres - James Baxter
Areas › Uranos Massif › 3.3 Sagi (2040m)
Sagi, 2040m, is a relatively isolated mountain at the northern end of the Uranos massif. Sagi has two summits, the north top and south top which are a little more than ½ km apart. Both are 2040m and it is undecided which is the higher. The simplest, and most interesting, solution is to traverse from one top to the other. However, this involves a extremely exposed scramble along a very narrow and jagged arête.
| The Route from Koldedalen | |
|---|---|
      |
|
Park in the vicinity of the cabin at the end of the road and walk back down the road for ½ km until a small stream descends from the north east. Leave the road here and follow this stream up to gain a flatter area, then leave the stream and veer north east across this flatterer area until, about 1 km after leaving the road, you intersect the marked path to Skogadalsbøen lodge.
Follow this marked path north for another km until the path forks just south of Urdadalsvatnet lake. Take the north east branch at this fork and after 300 metres you should come to the outflow from the lake which is easily crossed. Follow the east shore of the lake to the north for 300 metres, then follow a shallow valley up to the north east to gain a flat bowl.
 At the east side of this flat bowl there is a large moraine bank which has to be climbed for 80 metres of ascent to reach the south end of the glacial lake marked as 1518 metres. From the south end of this lake head north east, skirting up across a ridge of moraine, and then continuing north east descend the other side of it for a short distance to reach some small lakes and the edge of the glacier.
Mjølkedalsbreen Glacier
After preparing for glacial travel by the edge here head directly up the glacier in a northwards direction. After ½ km the slope becomes yet easier but a series of small crevasses are encountered for 300m. Cross this crevassed area and continue northwards in the direction of the summit of Langeskavlstind onto a flatter area which is largely crevasse free for just over ½ km.
At the north end of the flatter area the glacier climbs gently again. The lower half of the slope is largely crevasse free but the upper half contains some larger crevasses. It is probably best to head north west towards the summit of Uranostind, and thereby travelling parallel to these crevasses, crossing them whenever the opportunity arises for the next ½ km.
After this section of larger crevasses the glacier becomes almost level and it is easy to follow it north again for a further km this time towards the saddle between Langeskavlstind and Urdaknatten. There are some smaller crevasses during this section but they are easily crossed. On reaching the saddle be aware of two large bergschrunds that need to be crossed. The one that marks the edge of Mjølkedalsbreen is particularly large and deep and the snow bridges over it should be checked.
Once over these bergschrunds continue to head north down into the flat bowl at the top of the Mjølkedalsbreen glacier and cross this for a km to reach the south end of the south ridge as it plunges into the glacier. It is probably best to gain the rock where the glacier extends a small tongue up the south flank of Sagi to the east of the main south ridge. There is a smaller bergschrund here also and one should be aware that the ice overhangs a gap between ice and rock in many places.
 Once on rock start to head up to the top visible on the skyline. The best route is probably up to the saddle on the east of the south ridge. To reach this saddle involves an easy clamber up 80 metres of slab and boulder. Once on the saddle clamber up the final 140 metres over boulders to reach the visible top, taking care not to dislodge boulders down the 45 degree slope.
Towards the top of this clamber the slope becomes even steeper for a step and involves a short section of scrambling, where large blocks are wedged and stacked on top of each other for five metres, just as they were in 1894 during the first ascent! From the top of this steeper step the true south summit reveals itself a short distance away. Just before the summit the route goes to the west of a little crag, along a slightly exposed ledge.
The Ridge
The ridge between the south top and the north top is sensational. Although short it involves some very exposed scrambling. Leave the south top and head down across a shallow slab to reach a flat undulating section for 200m. This stretch is then followed by a more jagged section also for about 200 metres taking one over three minor tops where the arête becomes much narrower and loose in a few places.
 The end of this jagged section is marked by a considerably narrowing of the arête from three metres wide to just one metre wide, with nearly vertical drops on each side. At this initial narrowing it is prudent to start belaying because the arête narrows yet further to just 30 cm for a five metre stretch over partially loose rock.
At the end of this very exposed section there is a three metre climb up a thin blade of rock to gain a higher level arête which is still partially loose but now is 60 cm wide. This continues for 15 metres before there is another three metre climb up a one metre wide step. The two climbs are only of a grade III standard but the exposure makes them more serious.
At the top of this second step the arête is considerably wider again for the last 30 metres to the north summit. Given the nature of the rock it would be foolhardy to attempt this traverse without being belayed. A rope of 50 metres will easily suffice but 30 metres is too short for this exposed section.
The Return
The return is by the same route. However it is also possible to continue the traverse down the north side, as described in the alternative section above. It is then possible to descend to the Skogadalsbreen glacier whose eastern edge can be followed back up to Uranosbreen or you could continue down the ridge into Skogadalen valley.
The ascent of Sagi is also easily combined with the ascent of Mjølkedalspiggen from the saddle between these two mountains. For more information on the see the Mjølkedalspiggen page.